Tutorial - Using Cyberduck for FTP
Overview
In this tutorial, you will learn how to use the Cyberduck app as an FTP client so you can manage the files for a website. If you are having trouble uploading your files to the server, please contact the Technology Helpdesk at 480-517-8600.
Installing the App
-
Navigate to the Cyberduck website – see Figure 1.

Figure 1 - Screenshot of the Cyberduck website - Click the Download for macOS or Windows button to download the appropriate app based on the OS version you are using – Windows or Mac.
- NOTE: The App Store versions cost money. By downloading the non-App Store version, you can use the application for free, although you will get notices to make a donation for a registration key. The choice to make a donation is up to you, but it is not required for this course.
- Download the appropriate version necessary for your OS.

Figure 2 - Screenshot of download page. - Install the app based upon the version you downloaded.
- For Mac users – place the Cyberduck.app file in your Applications folder.
- For Windows users – follow the installation wizard prompts to install it.
Create a Connection
- Open the Cyberduck app.
- Click on the Open Connection button in the toolbar – see Figure 3.
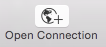
Figure 3 - Screenshot of the Open Connection button - Define the connection using the following information:
- Protocol = FTP-SSL (Explicit Auth TLS) (select from the first dropdown)
- Server = classweb.riosalado.edu.
- Port = should be left at default of 21.
- Username/Password = same login in credentials you use to log into RioLearn.

Figure 4 - Screenshot of the Connection Details dialog window - Click the Connect button – see Figure 4.
- You should now be connected to the FTP-SSL server and should see your course folder (e.g., CIS133DA_12345).
Create a Bookmark
After creating the connection, you can create a bookmark to allow you to quickly connect again. To do so:
- Click on the Bookmark menu at the top.
- Select the New Bookmark option.
- The information should auto-populate based on the current connection.
- If any of the information is incorrect, fix it based on Step 3 in the “Create a Connection” section above.
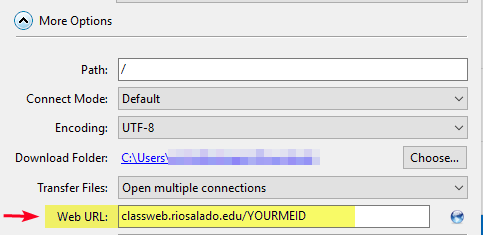
- Under More Options, define the Web URL as: classweb.riosalado.edu/YourMEID (replace YourMEID with your actual MEID)
- Close the window once you have verified all information is correct.
- Use the View buttons below the Open Connection button to switch between viewing the bookmarks you have saved (second button from the left) and the remote directory files (first button from the left) See Figure 5.
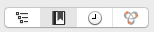
Figure 5 - Screenshot of the View buttons
You can now use the Quick Connect dropdown to reconnect to the Classweb FTP server.
Uploading Files
- If necessary, open the Cyberduck app and connect to the Classweb FTP server.
- Navigate to the folder to which you wish to upload the file(s). For example,
- You can get to the course root folder to upload a whole lesson folder by double clicking on the course folder to open it.
- To upload a file directly to an existing lesson folder, double click the course folder then the lesson folder, and if necessary and subfolder (e.g. css, images).
- Click on the Action button (gear icon) to display the menu – see Figure 6.
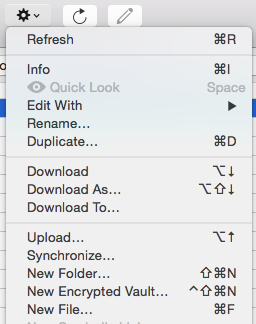
Figure 6 - Screenshot of the Action Menu on Mac computer - Select the Upload menu option.
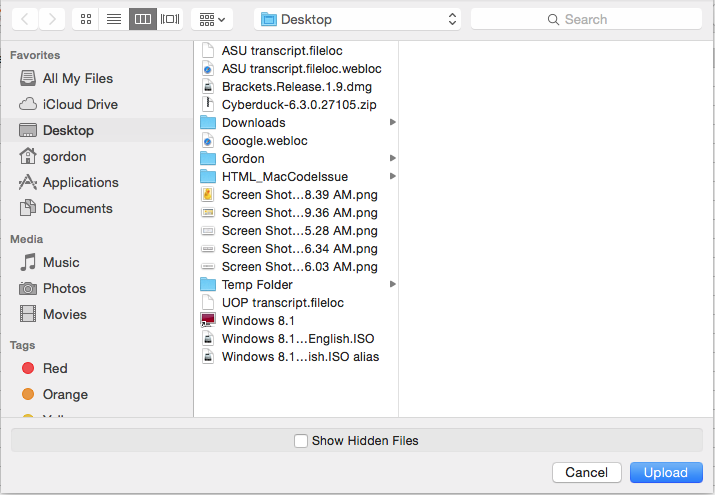
- The Upload window should now appear - see Figure 7.
- To upload a file(s) – navigate to the file’s location on your local computer and click on the file to select it. To upload multiple files, you can user CTRL (PC) or Command (Mac) plus left click on the file to select multiple files at once.
- To upload a folder (including all files and folders contained within) – navigate to the file’s location on your local computer and click on the folder to select it.
- Click on the Upload button.